This is the second post in a series about how I make comics. Inspired by the recent completion of my latest comic, Concrete. You can read Concrete here.
Part one | Part two (This part)
The important thing with a comic – even a short comic – is to establish a working environment and system that flows easily from one work session to another. Standardising parts of the process makes sure the continuity of the story isn’t interrupted or influenced by bad process.
I tailor my approach a little for each project. This is the process that worked for Concrete.
THINGS I USE
- Sketchbook/pencil
- Intuos5 tablet
- Macbook Pro 2010 13 inch – It is pretty old now and for some reason only wants to run while having 1 stick of RAM in, so I’m on 4 gigs of RAM in single channel. Which is not a lot of RAM. I close every non-essential thing when I’m working. :(
- Dell monitor 24 inch.
- Apple wireless keyboard for shortcut keys
- Logitech wireless mouse I should include it on this list for some reason
- Photoshop CS5.1
- Guide Guide – THE BEST PLUGIN EVAR
- Kyle Webster’s Photoshop brushes – Buy them here
THE PROCESS
Drafting

My workflow for Concrete was about 95% digital, but I always always start with paper. Sketchbooks are the birthplace of ideas as well as a practice ground for concepts. Something about fleshing something out on paper really helps to get the ideas and story set and establish flow. No digital tool I’ve used comes close to replacing it.

Most of my first drafts look like this before I copy them into a word processor (usually Google docs because it’s convenient).
Using Google docs means I have all the text up on the screen while I make thumbnails on paper. Thumbnails are a crucial part of my process. They let me quickly work out timing, composition and pacing, ensuring the story flows how I want. Because they’re small there’s minimal cost to throwing out something that doesn’t work. I usually use a larger sketchbook for these because I like to have more of the comic on one page than my travel sketchbook allows.

Sometimes I take photos of my thumbnails, but I didn’t this time for whatever reason. I kept the sketchbook on my desk so I could refer to it during the next phase of the project.
Digital set-up
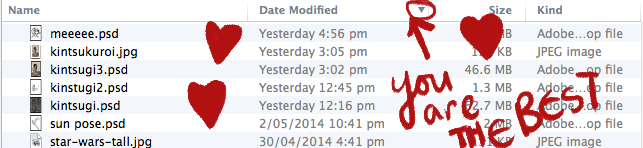
I start a folder for my project. GOOD FILING IS VERY IMPORTANT. I tend to have a comics folder, and each comic has several folders for all its pieces within this. I also make sure to keep my windows organised by ‘date modified’ rather than by name. This means that my newest files are always at the top and easy to find.
This is also the part when I am going to say: HAVE BACKUPS. HAVE SO MANY BACKUPS. HAVE ALL OF THE BACKUPS. I have an external drive plugged in and my Time Machine backs up every hour, which has saved my butt during the times I’ve accidentally flattened a working file or made it web resolution. A BACKUP WILL SAVE YOUR LIFE ONE DAY. GET IT SORTED.
NEXT. I pick my working file size on the computer. I’m going boring A4 with this one, but if I was to pick different working dimensions, this it the point where I do it. I decided to bump my working resolution to 600DPI for this one. Partly because I knew linework would play a crucial role in this comic, and partly because I knew that being (mostly) black and white this wouldn’t stress out my poor laptop too much. If I had a more powerful machine I’d work at this DPI all the time. Or probably higher, I’m not sure what numbers the professional kids are pushing these days.
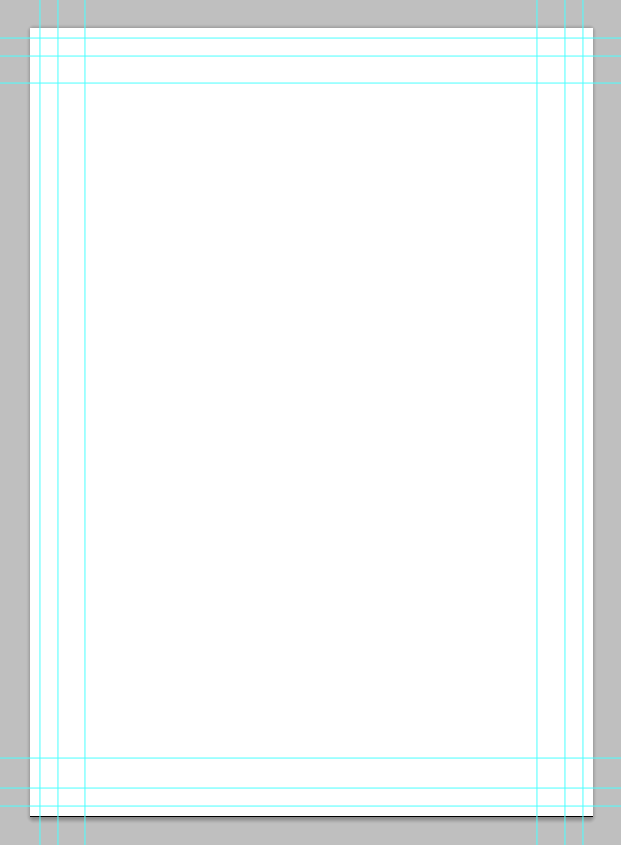
I set up base guides for this with GuideGuide. 3mm bleed, and then another 5mm to mark working space. This means that any comic panels are printed on this line so as not to come too close to the edges. I have an extra set further in too because the paneling I wanted for Concrete required more white space.
This page is saved as Base comic page.psd, and it becomes the base of each finished page, since it’s all set to go.
But! We’re not up to working from base pages yet, because there’s not enough fidelity in these thumbnails. Also they’re on paper and not in the computer.
Higher fidelity sketches
I save a 72DPI version of my base comic page, and this becomes my base digital sketch page. These get saved into their own folder called ‘test pages’ or something similar. I sketch out each page and save it in this folder.I use a scratchy sketchy brush and not-quite black. There’s more fidelity here than in the thumbnails, but it’s still quick work to flesh out page and panel compositions, check for continuity, and make sure it sits and feels right.
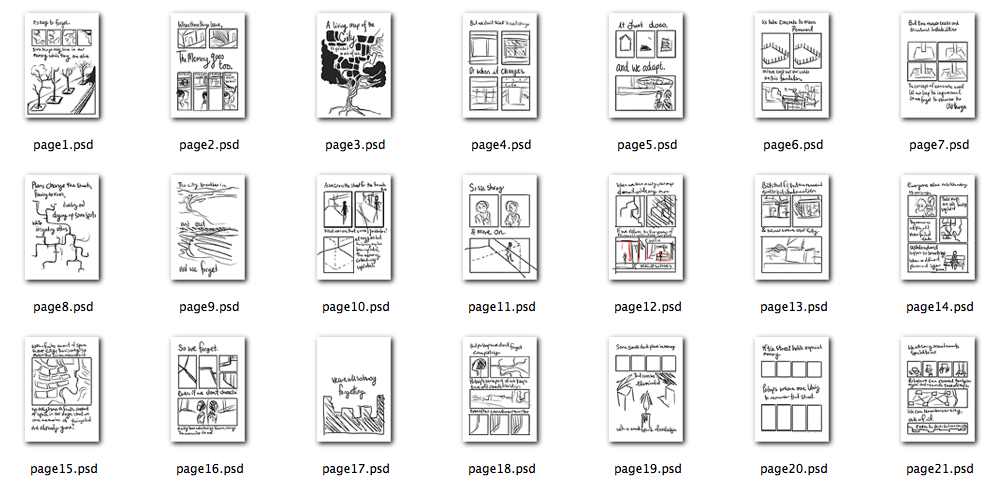
Once this phase is complete it’s time to actually draw pages!
Actual page drawing time!
The base comic page.psd gets opened and a new page saved into the new folder ‘comic pages’ This page is ‘page01.psd‘. All pages after this are titled to match.
The scribbly test page gets copied into this new file and stretched proportionally to fill the space. Put the layer to something like 30% Opacity and lock it so that you can’t draw on it or move it at all.

Draw the page! I tend to have separate layers for text, frames and then 1-2 layers for other lines depending on what I’m doing. Because my brush library is insane I tend to write myself notes about which brush I’m using on a bit of paper so I can remember each time. This time it was one that was smooth and gave me excellent thick and thin line weights.
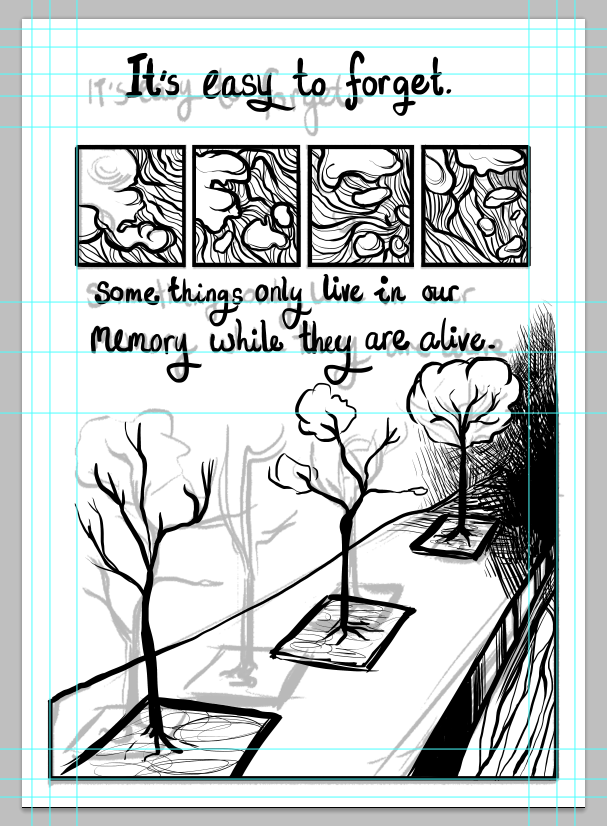
I don’t do any shading or colour at this stage, just plod on through getting the text and lines down page by page. I lay down my guides if I need them, usually to help me draw my type straight.
After a while I got into a great rhythm with this system and was able to crank through several pages much faster than I was expecting. The poetic nature of the story and relatively minimal levels of action meant that it was an easy draw. Something with more action and context possibly wouldn’t have the same level of hypnotic flow which I benefitted from while making this project. Still, it might do, I’m not sure!
[there isn’t a picture that goes with this, so you will just have to imagine me making happy noises while pages get made]
I added minimal grey shading to the illustrations after all the lines were done, and tweaked a few elements to make sure that the continuity was correct throughout. The swatch pallet is handy here to track colours and ensure they match across pages. This mattered a lot for Sunshine, with its painterly style, but it’s still good practice here and saves keeping two pictures open and individually eye-picking colours.
FINISHING TOUCHES
Displaying for web
Concrete was created print-ready, but it’s always going to display online first. I love being able to share my work online for free. Licensing with Creative Commons licenses allows me to share my work in a way that is meaningful to me and lets others create and build on my work if it inspires them. Sharing my work ‘for free’ in this way has only ever been beneficial to me, helping to further the reach of my drawing and illustrating and connected me with other artists. I’m still protected if it gets stolen and used without crediting me.
For Concrete I wanted it to appear nicely on retina displays, so they’re saved to be about 1400px wide.
I hand code the pages my comics go up on. I do this so that I have complete control over how it displays, and so that it loads faster because there’s no CMS or anything that interferes. It means I have control over exactly how my comic looks on multiple devices without too much mucking around. With a page like this even my incredibly old and rusty HTML does the job OK. I’m lucky enough to have supportive flatmates who helped me to brush up on my knowledge and teach me some new cool tricks.

And that’s where comics come from. Or at least my comics.
Thanks for reading! I’ve still got at least one more part of comic-making I want to talk about, so hopefully that’ll happen at some point.